Well, that might be an overstatement. Nonetheless, this curriculum is experimental and like no other course you’ve taken, so it is vital to pay attention here.
Your assignment each week is to create a digital poster with a small group of teammates. If you have not already read it, please go to the menu tabs above and read the page titled “Start Here“.
OK, that gave you the gist of what we are doing.
Next, we are going to look at the digital poster for this week and say “Hi!” to your teammates. The instructions here are repeated in the links above in the menu if you need to look back at them.
First, you need to find your Team Page. Go here, and follow the link to login to Microsoft Teams:
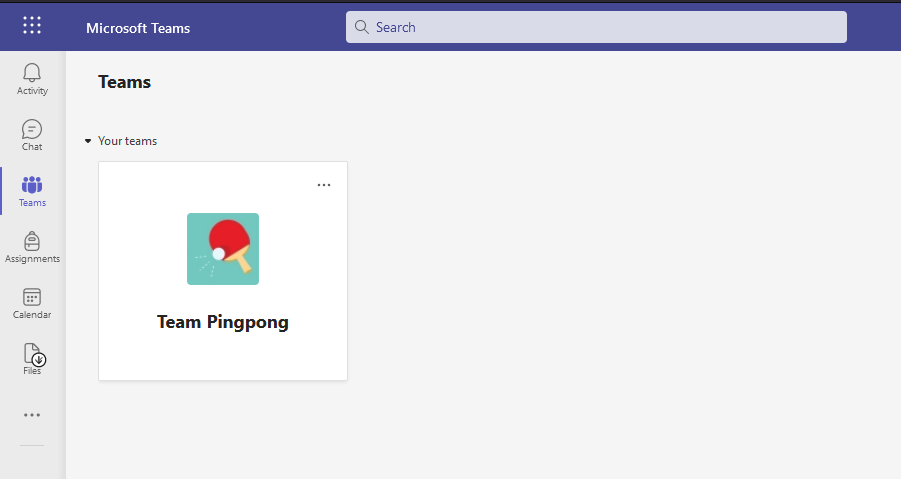
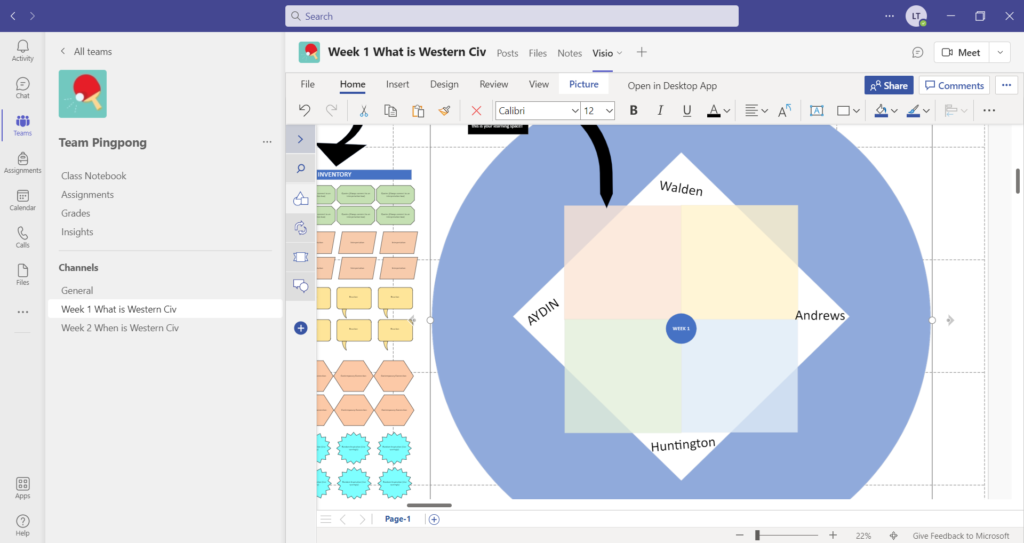
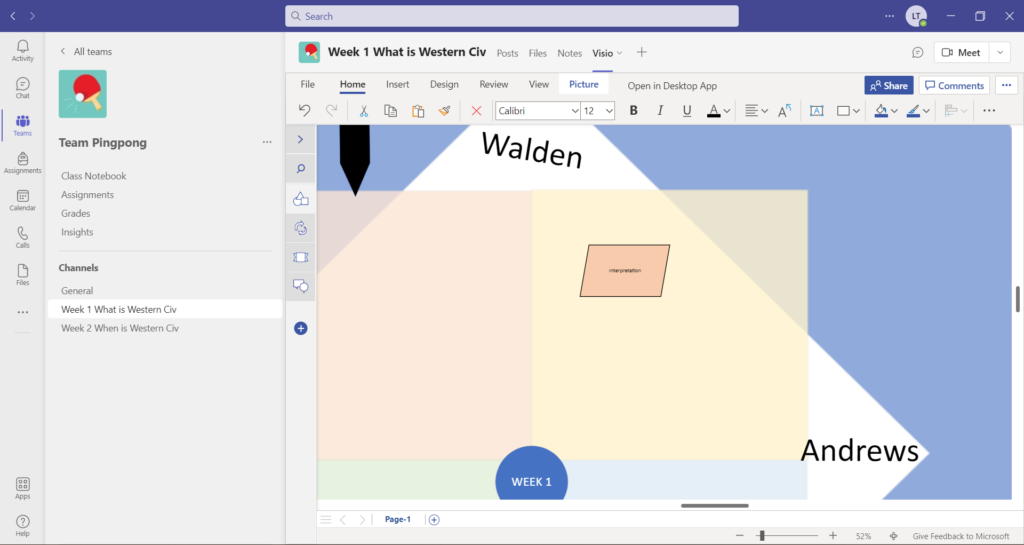
Once you log in, you will see a page that looks something like this. Unless you use this app for other courses, there should be only one team visible. Click your team name to access.
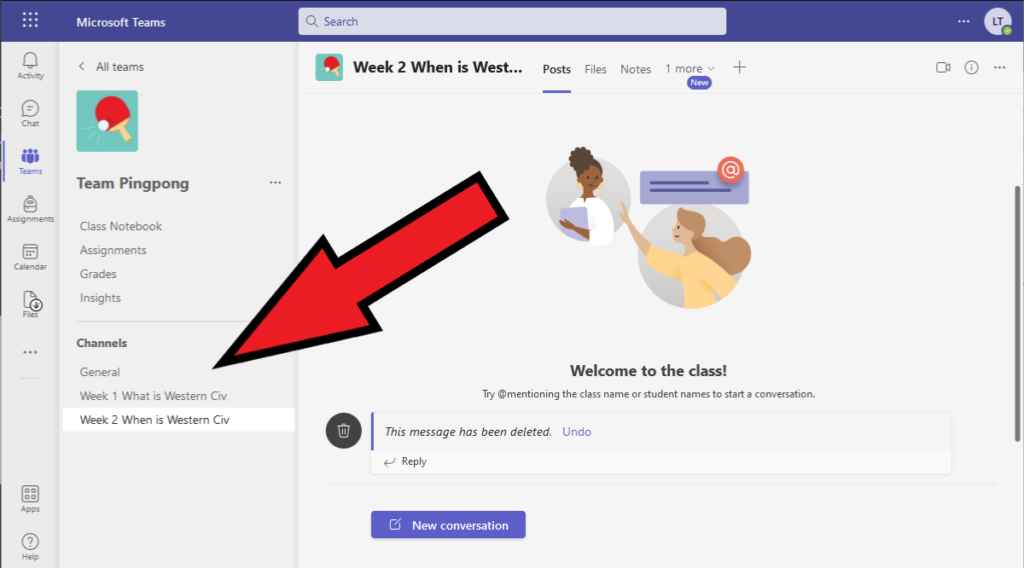
That’ll bring you to here.
We will not be using most of the links and tools on your team’s page.
Look on the lower left-hand side for “Channels.” Each week there will be a new channel where your poster will be.

Select whichever week we are working on.
Then, in the top menu bar you’ll see a few options. Click on the week’s template.
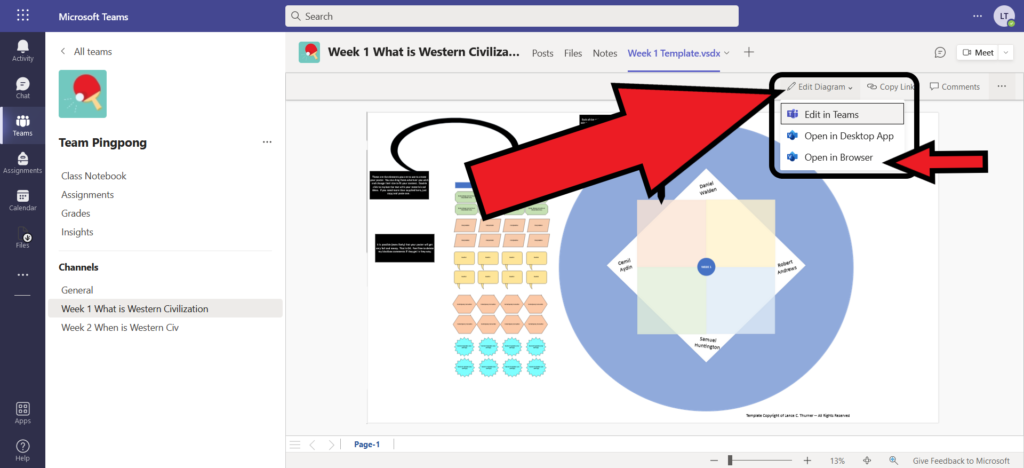
That will show you a preview of the poster. Click “Edit Diagram.”
You’ll see a drop down menu where you should select “Open in Browser.”
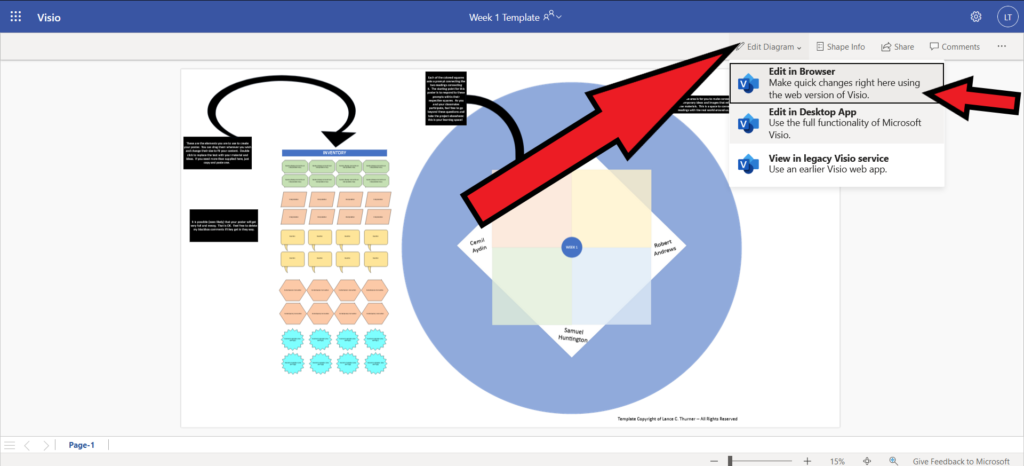
That will open a new tab in your browser.
I don’t know why, but you have to select “Edit Diagram” and “Edit in Browser” again.
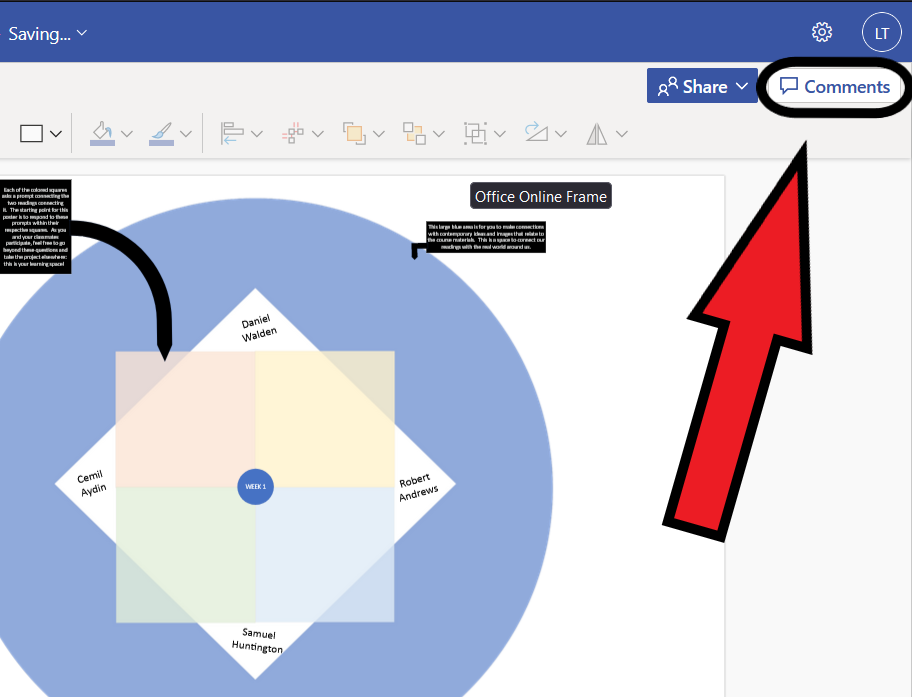
That brings you here. Go ahead and click on “Comments” and then add your first comment introducing yourself to your teammates.
As you are working together on your poster, use the comment function to communicate and coordinate with one another. I too will add suggestions, comments, and questions to the conversation, so it is a good idea to keep an eye on this.
That’s it for now.
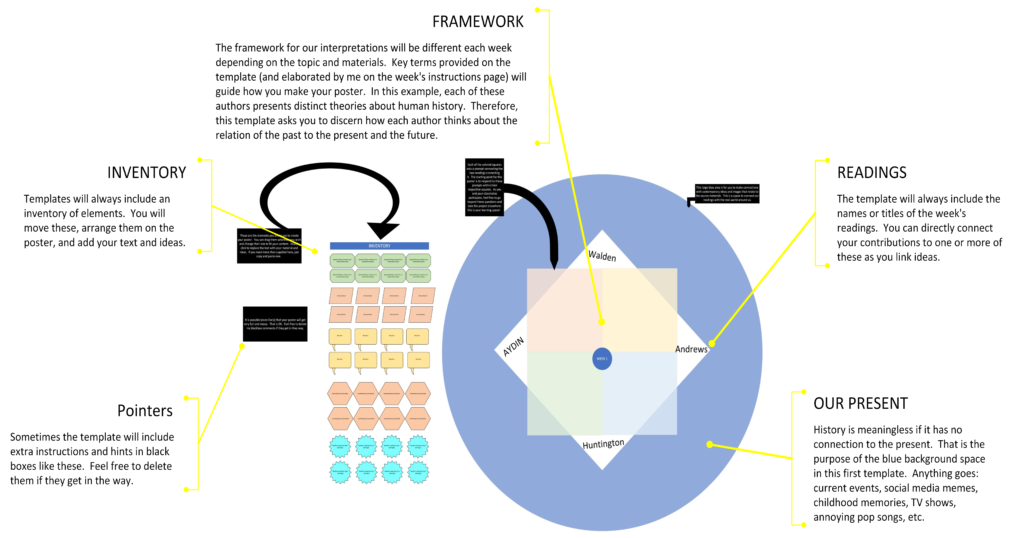
For this first week, our template prompts us to find the points of connection and contrast between our readings. In each white corner are the authors’ names. The colored square between two authors is the space to add your comments and analysis.
Now let’s take a closer look at the template:
And now take a close look at the inventory:
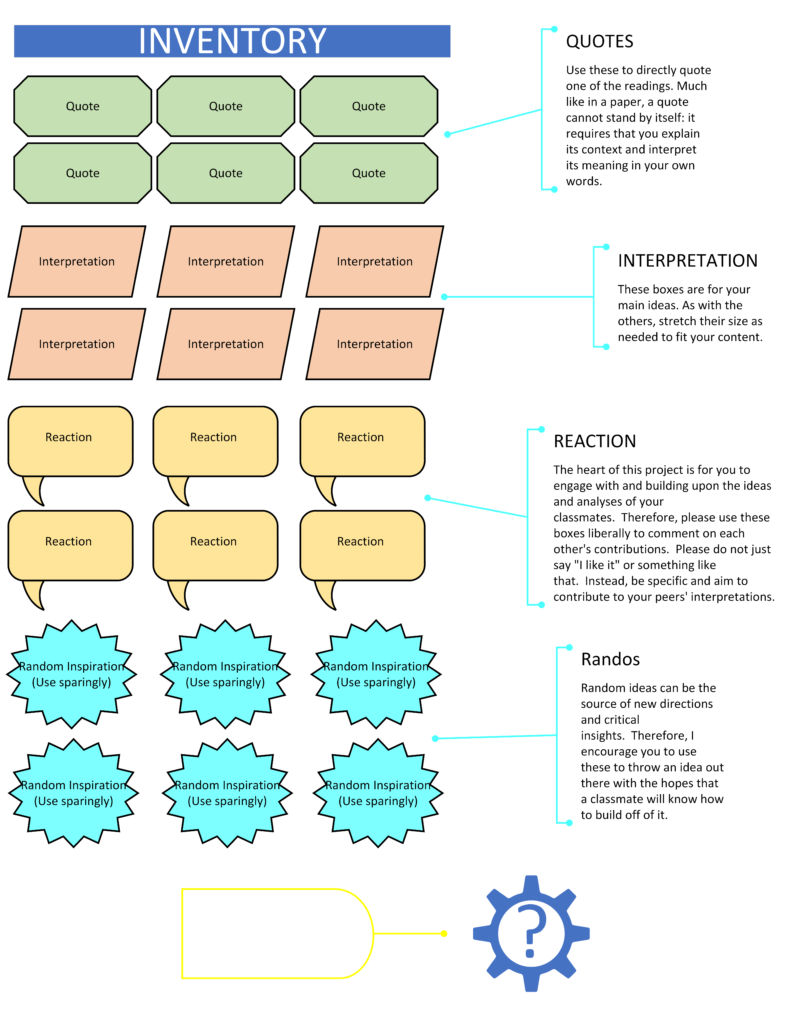
To add to the poster, you just click on one of the elements in the inventory, drag it over to where you want it, and then insert your text. You can resize it as necessary to fit your content.
You must make sure that it is always clear which author you are talking about, but otherwise, even for quotes, no citations are needed.
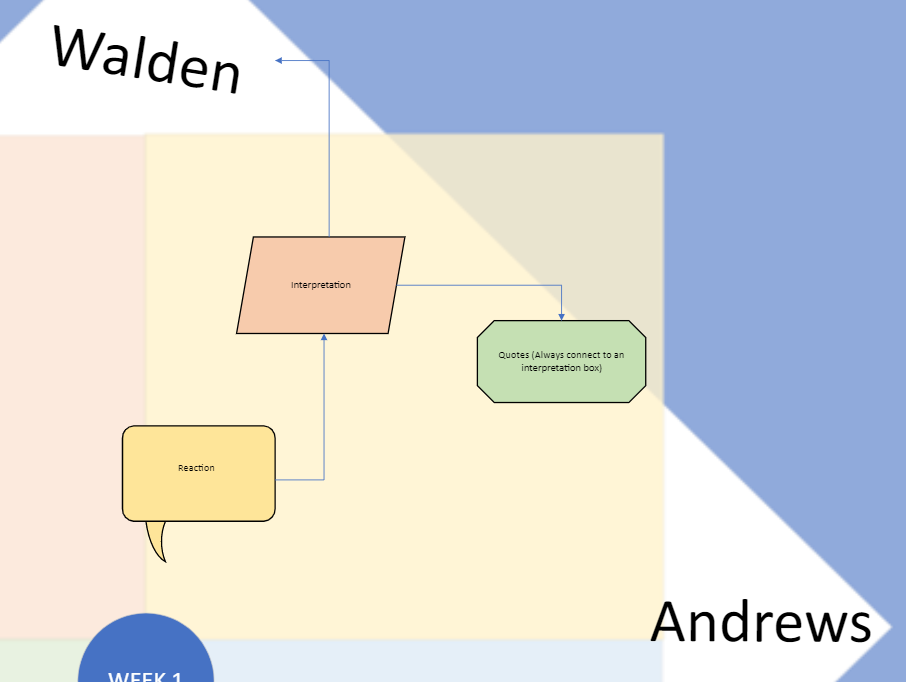
As you and your teammates add more material, you can link certain elements together by clicking the little circles around them.
Throughout the course, I also encourage you to play with the other shapes that this app has to find new ways to illustrate the connections between ideas and interpretations.
At the end of every contribution you must put your name or I won’t be able to give you credit.
And that is that! Not so complicated, really. Now you are ready to get working.
Wait! One last thing:
To reiterate, there are two deadlines each week: Wednesday and Saturday at midnight.

It is not necessary that you personally comment on every reading (although you should aim to comment on most of them). However, it is necessary that your group as a whole addresses every reading in the digital poster. It will be helpful if you coordinate amongst yourselves as to who will concentrate on which readings.
I fully expect that your poster may become a visual disaster as you produce it. That is entirely okay. Deep critical thinking is often a messy process and our goal here is to brainstorm and collaborate, not necessarily to produce a pretty image.
Now go back to the Week 1 Homepage: